5/06/2017

Happy Scrapbook Day

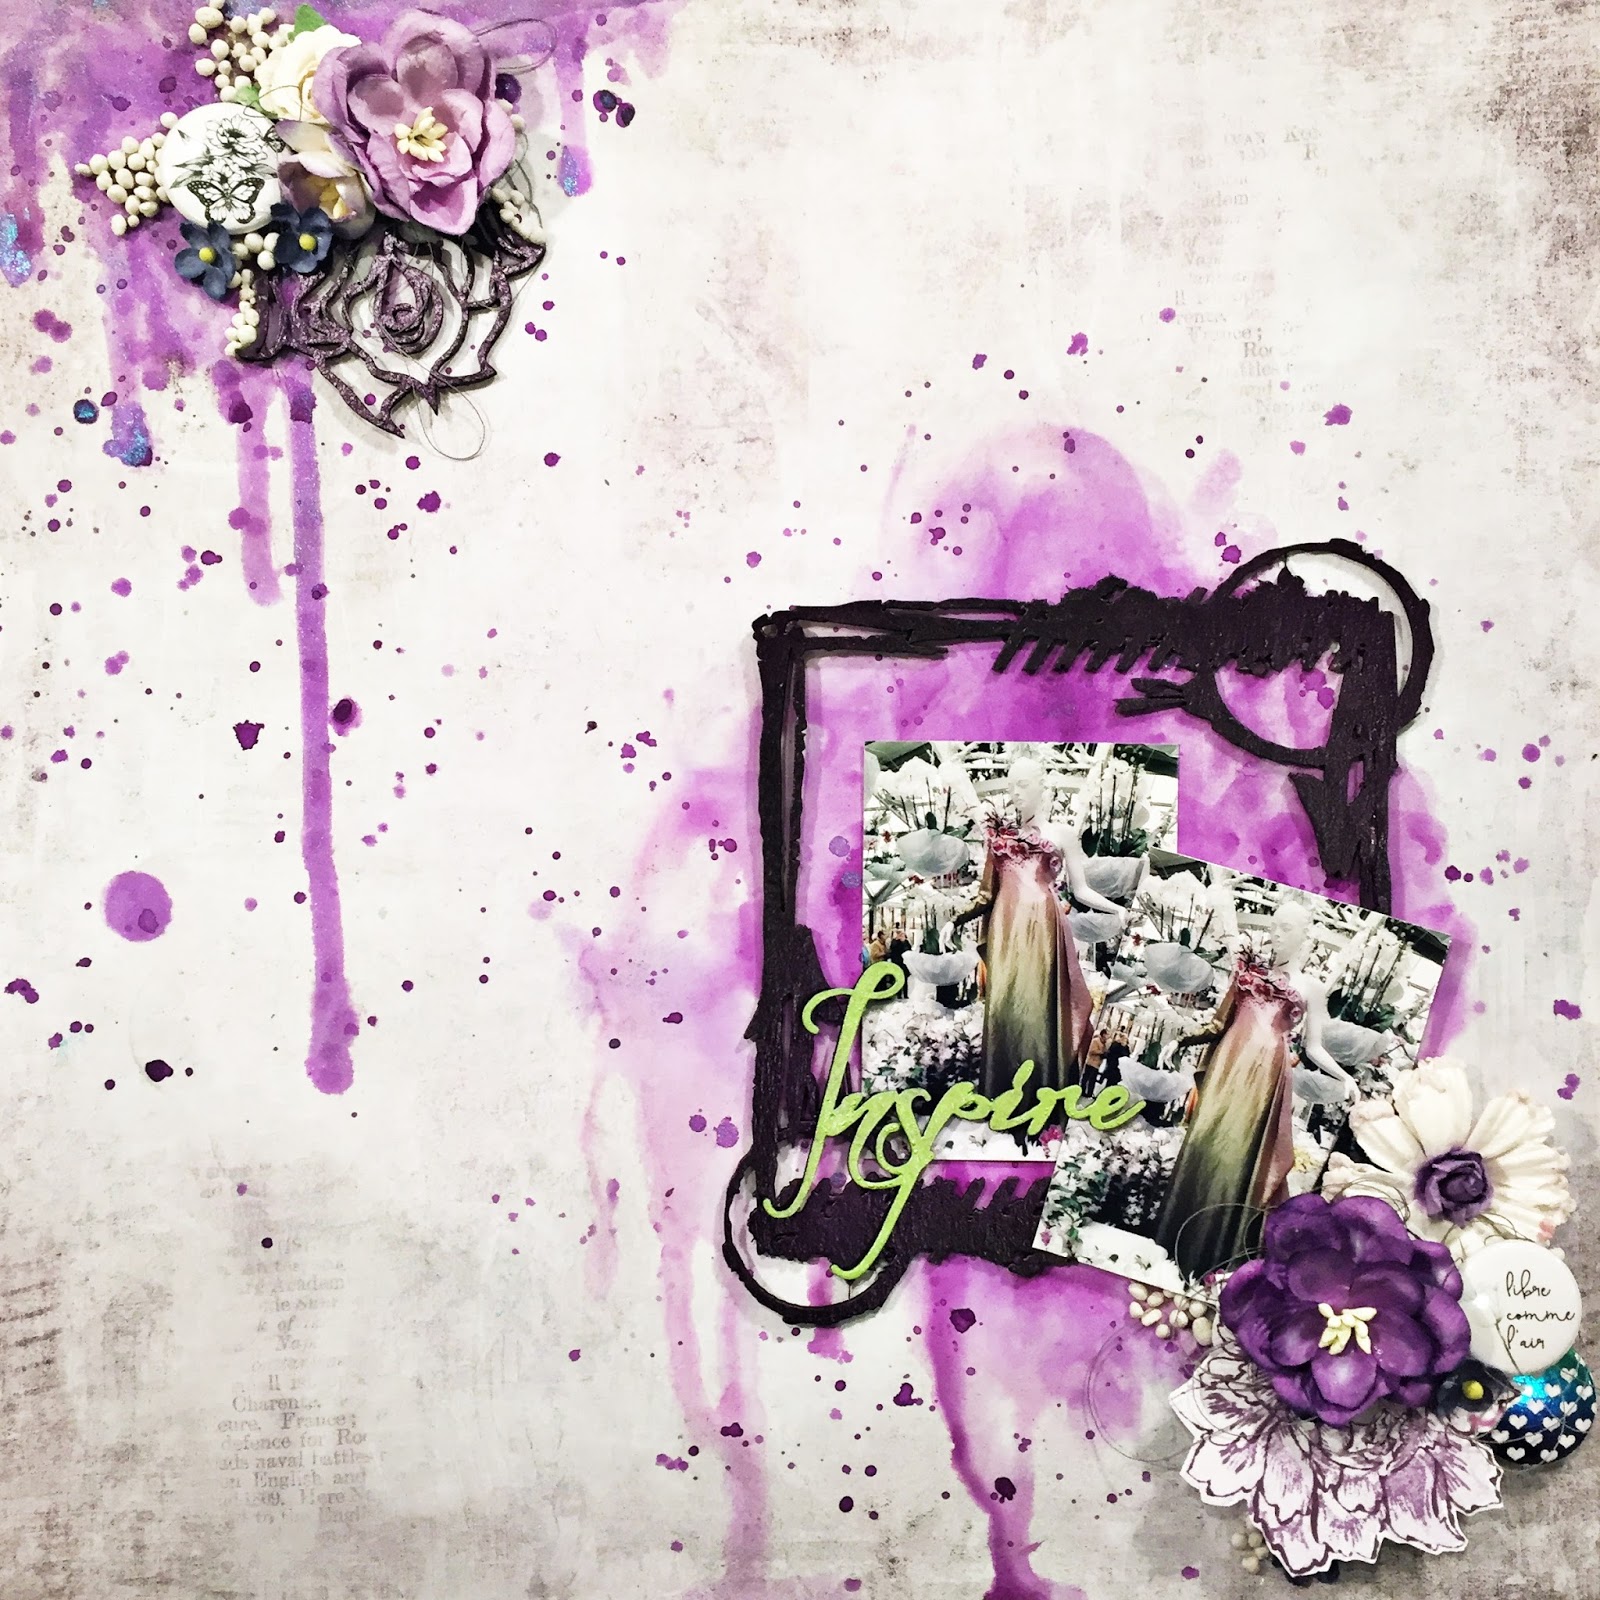
Scrapbooking has been my favorite relaxation time over the last 15 years. In honor of this day, the Scrap Aux Puce team has created a challenge to be inspired by a moodboard. Here is my page for this challenge:


I used some of my favorite products like this flair from Cuts2luv


Here is the moodboard we used, the objective was to be inspired by products and a few elements:


Wishing all of you a fabulous day.

Photobucket

5/01/2017

Page Moodboard tout en mauve

Je suis encore en mode MAUVE !


Le moodboard que j'ai fait pour Scrapauxpuces:


Bonne journée !


Photobucket

May project for Creative Embellishments

Life was meant for a great ADVENTURE
Love this quote from my Tim Holtz stamps collection. I was so inspired by the challenge this month. Once I saw it, I just felt like playing with my stencils, inks and stamps sets.

I started my background by using my distress inks (Barn Door & Looking Glass) thru a chevron stencil, the I started to add some stamping with the same colors and also added some in Archival black. I wanted the background to have the sames colors as my pictures and to make it fun and lively. 

Next step, I used this beautiful chipboard scribble frame that I cut in half and covered with acrylic paint. I have to say that this frame has become one of my most recent favorites.


Here is another angle to see the stamping and frame


Want to join in on the fun? Here is the inspiration image:


Products used on this page are:


Thanks for stopping by !


4/20/2017

Missing you & Perfect day cards for Creative Embellishments

It's my turn on the Creative Embellishments blog today. I've been thinking about visiting an old friend that lives far away. So I made 2 cards. One to send prior to my visit and one to leave behind as a thank your for her hospitality.


The first card is a simple 6 x 6 that I distressed the contours of the papers. I left the title and the flourish chipboards with the natural look. For the leaves, I covered them with Gesso, the with a coat of Iridescent pebeo turquoise paint.


I love the effect of this paint on the chipies:


For the second card, no alterations, I mainly played with the floral arrangements and gave the background a mixed-media effect:


Links to the Creative Embellishment products can be found here:

Flourish Set 9
Rose Set 1
Small Sentiment Words
Fall leaves set of 16
Photobucket

4/18/2017

Tableau d'inspiration Cuts2luv

Un tableau d'inspiration qui nous amène un allure du printemps on adore cela. Pour cette page, je me suis inspiré et j'ai trouvé cette superbe photo prise lors de mon voyage l'an dernier. Amsterdam a un jardin magnifique et il y a des orchidées de toutes les couleurs, ces mauves fut juste bavantes. 


Les éléments du tableau pour ma page sont:

Technique étampe coloré
Embellissements le feuillage
Le croquis
Le combo couleur


Voyez de plus près mes orchidées avec le beau chipboard Cuts2Luv:


Merci à Elliam qui a coloré cette belle étampe Altenew que je lui ai volé (hi hi!)


Avez-vous vue le beau badge de la nouvelle collection?


Le chipboard:


Le Badge de la collection Wild & Free: 


Vous êtes sous le charme? Allez vite faire un tour dans la boutique Etsy: ICI

Bonne journée !


4/11/2017

Winter Wonderland for Creative Embellishments

Have you ever been to Canada? Of not, let's just say that we have some really challenging winters. This reminded me of a day when we went skiing with our friends at Bromont mountain. You know that day that your all excited about spending the days with your friends and family and forget to look at what the weather will be like? 
I've had this picture for a while sleeping in my stash. I remember how cold it was when I took my glove off to take this one. It was coooooold.
My inspiration for this page came from this beautiful chipboard title: Winter Wonderland


For this project I did many steps.

I started with the coloring of the blue title and snowflakes. I primed my chipboard with Gesso, then covered them with this Iridescent paint from Pebeo.


The next step was to color the dream catcher and frame in a red orange color and then I added some snow paste from the Finnabair product line. 

This small phrase is truly perfect for that day because we truly were frozen.


Then I just added my beautiful snowflake flairs and some flowers:


Here are the links to the Creative Embellishments products used on my page:


I hope you enjoyed my page, thanks for stopping by !
Photobucket

4/05/2017

Voyage Cuts2luv and entry for Lindy's Stamp gang challenge & White with 1.

I don't know about you, but I just can't wait for summer to arrive. I've been on vacation planning mode and started to dream about the beach again. This was my inspiration for this page.

I was inspired by the 2 blues and the soft pink of the color combo set. I started my background using the blues:


Then I heat embossed the flowers, colored with the light blue and added a small touch of the pink. The pink is so soft, it's challenging to take a good picture.


Here are a few more pictures of the details:


I just loved theses embossed Altenew flowers that I felt I needed to keep the ornaments to a minimum to not lose them in the details.

Now, here is the beautiful mood-board from Lindy's that was a source of inspiration for my page:


Lindy's product used on this page are the following:


My second challenge entry is for White with one. I am in Love with this Helium blue:

You can find the challenge HERE


The Cuts2luv flairs are just perfect for a vacation and summer page:

Boheme kit:


Duo travel gold


The link to the Etsy store if you've fallen in love with them as I have is HERE