8/29/2017

Ensemble pour Cuts2luv

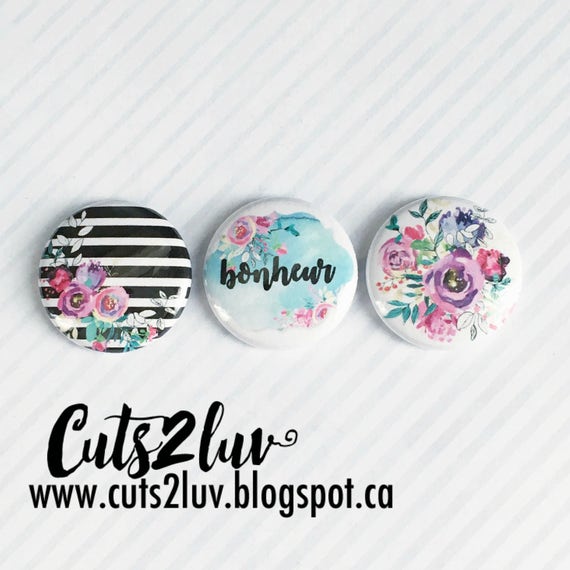
Bonjour, c'est mon tour de vous présenter ma toute dernière pour avec les magnifiques badges Cuts2luv. L'inspiration pour cette page fut le beau fond aquarelle de badge Bonheur.

J'ai débuté mon fond sur un papier aquarelle. Avec un stencil de Tim Holtz, j'ai appliqué du gel medium pour faire un effet 'résiste' et créer des fleurs blanches dans mon aquarelle. Ensuite ave un pinceau, j'ai appliqué mon encre Lindy's stamp gang Baby Blue Eyes.


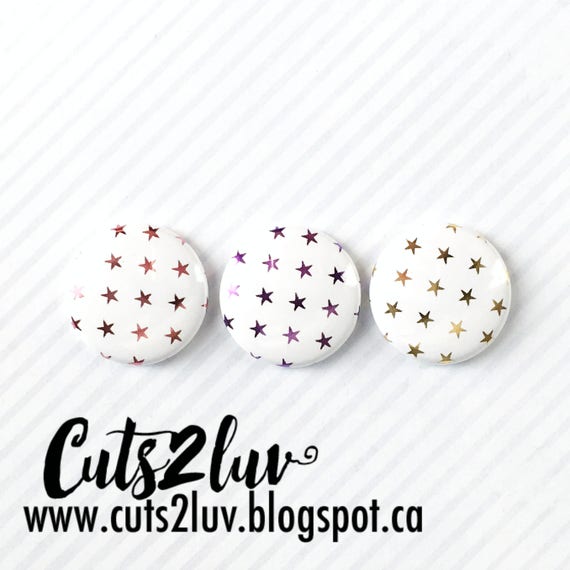
J'aime beaucoup cacher certain badge sous mes ornements tel que ce super badge étoile en foil:


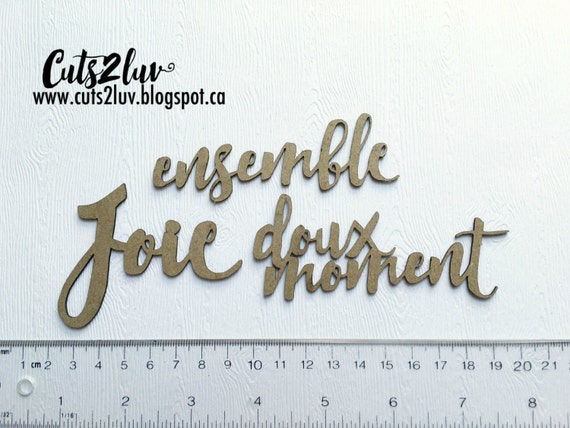
Le badge qui fut la source d'inspiration avec les petits mots autocollants des Créations Édith Cloutier: 


Vous aimez les badges? Alors suivez les liens ci-joint pour la boutique:


3 badges 1 "happiness


3 badges 1 "metal stars pink, purple, gold

Bonne journée les amis !


8/23/2017

Doux Moment pour Cuts2luv

Bon matin, la fin du mois approche, j'espère que vous avez fait le défi du mois? Sinon il vous reste encore quelques jours pour participer.

J'avoue que ce tableau d'inspiration m'a donné un niveau de difficulté. J'adore faire le couleurs du combo et la palette de ce mois sors de ma zone de comfort. Mais c'est ça le défi non? Essayer de sortir de nos habitudes.

Pour cette page j'avais le goût de faire des découpes avec un beau papier motif de 49 and Market.


J'adore les éléments de douceur de cette page. Pour le défi j'ai utilisé les éléments suivants du tableau d'inspiration:
  • Embellissements étoiles (mon badge)
  • Le combo couleur
  • Chevron (papier)

Sous mes découpes, j'ai ajouté un fond aquarelle avec mon spray Lindy's (Sweet Violet Purple Teal):


Les produits utilisés sont:

Chipboard joy

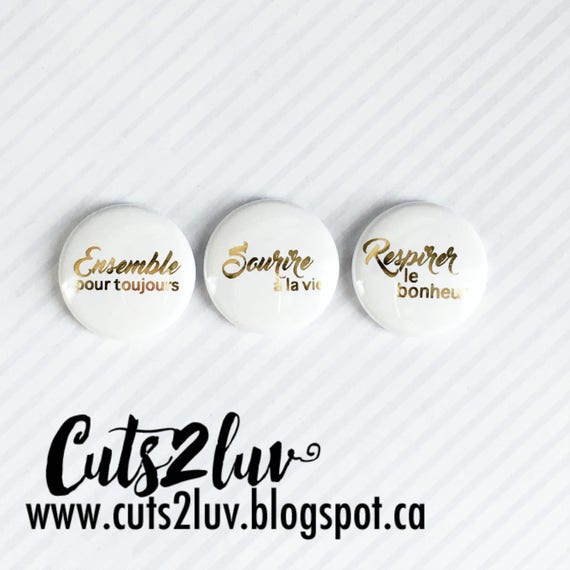
1 Badge de la série smile to life metal golden:

3 badges 1 "smile to life metal Golden

3 badges 1 "metal stars pink, purple, gold


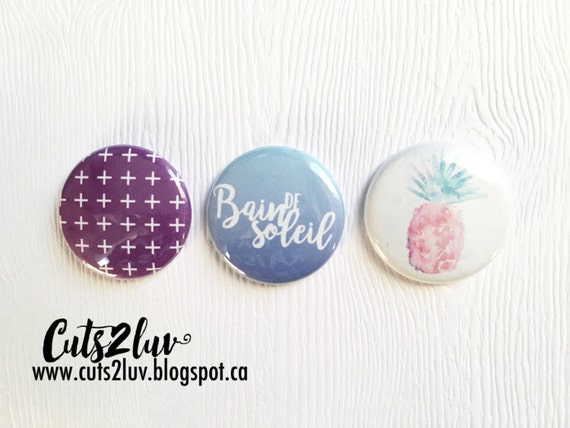
3 badges 1 "Sun bath


Merci pour votre visite et bonne création !


8/19/2017

Seabreeze for Creative Embellishments


Good morning everyone, wow, I am the only one wanting the summer to last forever? Living in Canada, we never know what our weather will be like in the summer, so often we head down south for our Summer vacations. For this project, I have another old picture from our family vacations to Virginia Beach. This one was taken on our very first trip there. I think it was most likely 2001 or 2002. My sons were very young, but loved to play in the waves.

I started this layout wanting a darker toned summer page. My starting point with this Blue Fern Studio paper was to add a layer of embossing powder on my background thru a stencil, then I added the dark blue embossing powder. 


Next step was to start the layering of my chipboard. Some I left natural color (title and butterfly).


I heat embossed in Navy blue the anchor and added some white twine and a flower as an ornament:


The clock I embossed with a multitoned embossing powder:


Once my chipboard were positioned, I started my layering. I have several layers of paper, some paper doilies then I finished with my flowers and some larger twine and cheese cloth.
The very last step is to add some splatters of liquid gesso, I enjoy the dimension this adds to the project.

Products used on this page:
1 piece of this Butterfly set:


So what is your favorite vacation place?
Thanks for looking, I wish you a wonderful crafty day !


8/13/2017

Explore for Creative Embellishments & Mixed Media & Art challenge

Hi everyone, I hope you are enjoying your summer and have had some time to play in the pool, visit a lake or my favorite go to the Beach.

With my teens, it is getting harder to get them to pose for pictures now, so I've been having fun looking at old vacation pictures. About 8 years ago, we went to Virginia Beach and the waves were super high. I have this beautiful picture of my boys and my husband daring to go into the waves. I thought it would make an awesome layout.


This 7 Dots Studio paper I felt was perfect for a beach themed page. I started by adding some layers of details with stencils (Anchor, letters & lines). I love the texture it gives to the back of the page.
I covered my chipboard with black gesso, then played with my Finnabair Waxes. I just love how simple they are to use and the details that it can bring. I played with 4 colors (Metallic wax Brushed Iron & White Gold, Antique Brilliance Mystic Turquoise and Opal Magic Wax Turquoise Satin) You can see the details of the waxed on my close up pictures below, my favorite is the seahorse, it came out perfectly.
I added some sequins to give it some light:
On the grunge frame, I only played with the Brushed Iron:
For added texture I included some paper die-cut greens, some straw and cotton cheese:
Products used on this page are:


**********************************

Now there is this wonderful monthly challenge over on the Mixed Media & Art blog. I am taking the opportunity to make this my first participation in those challenges.

Challenge board


Now I did not have turtles on hand, but the seahorses I believe would qualify in this challenge as well as the blue altering of the chipboards.

I hope you like my take on your challenge !

I wish everyone a wonderful day !

8/05/2017

Thinking of you Tag for Creative Embellishments

There are moments in your life where you feel a bit helpless. Recently I learned that one of my best friend's daughter is battling Osteosarcoma. They live far away, it is not possible for me to be there, but I wanted to find a way to show my support. Hospital rooms are boring so I chose to make this huge tag to brighten up her day and add a touch decor at the same time. That way she will know that I am thinking about her everyday.


If you've not seen the huge tags in the store yet, you are missing out on a cool product.

I started by covering my tag with a turquoise background paper. Then I wanted to add texture. I had this sheet of Prima embossed tissue paper that I sprayed with my Lindy's Stamp gang spray Baby Blue Eyes: 


Under this paper I added a layer of thick cardboard to add dimension and some straw for fine texture.

Then I played with my chipboard and embossing powders. The fairy I embossed in 2 colors, the clocks in gold and left the leaves and title natural color.


Once my ornaments are set-up I like to finish with some touches of Gesso on my flowers and drops of Gesso over some segments of the project, you can see it if you look at my floral chipboard on this picture:


Products used for this page are: 


Thanks for stopping by, I hope you like how I created my large tag. Wishing all of you a great day.